

How to Buy US & Canada VoIP Termination: Step-by-Step guide.

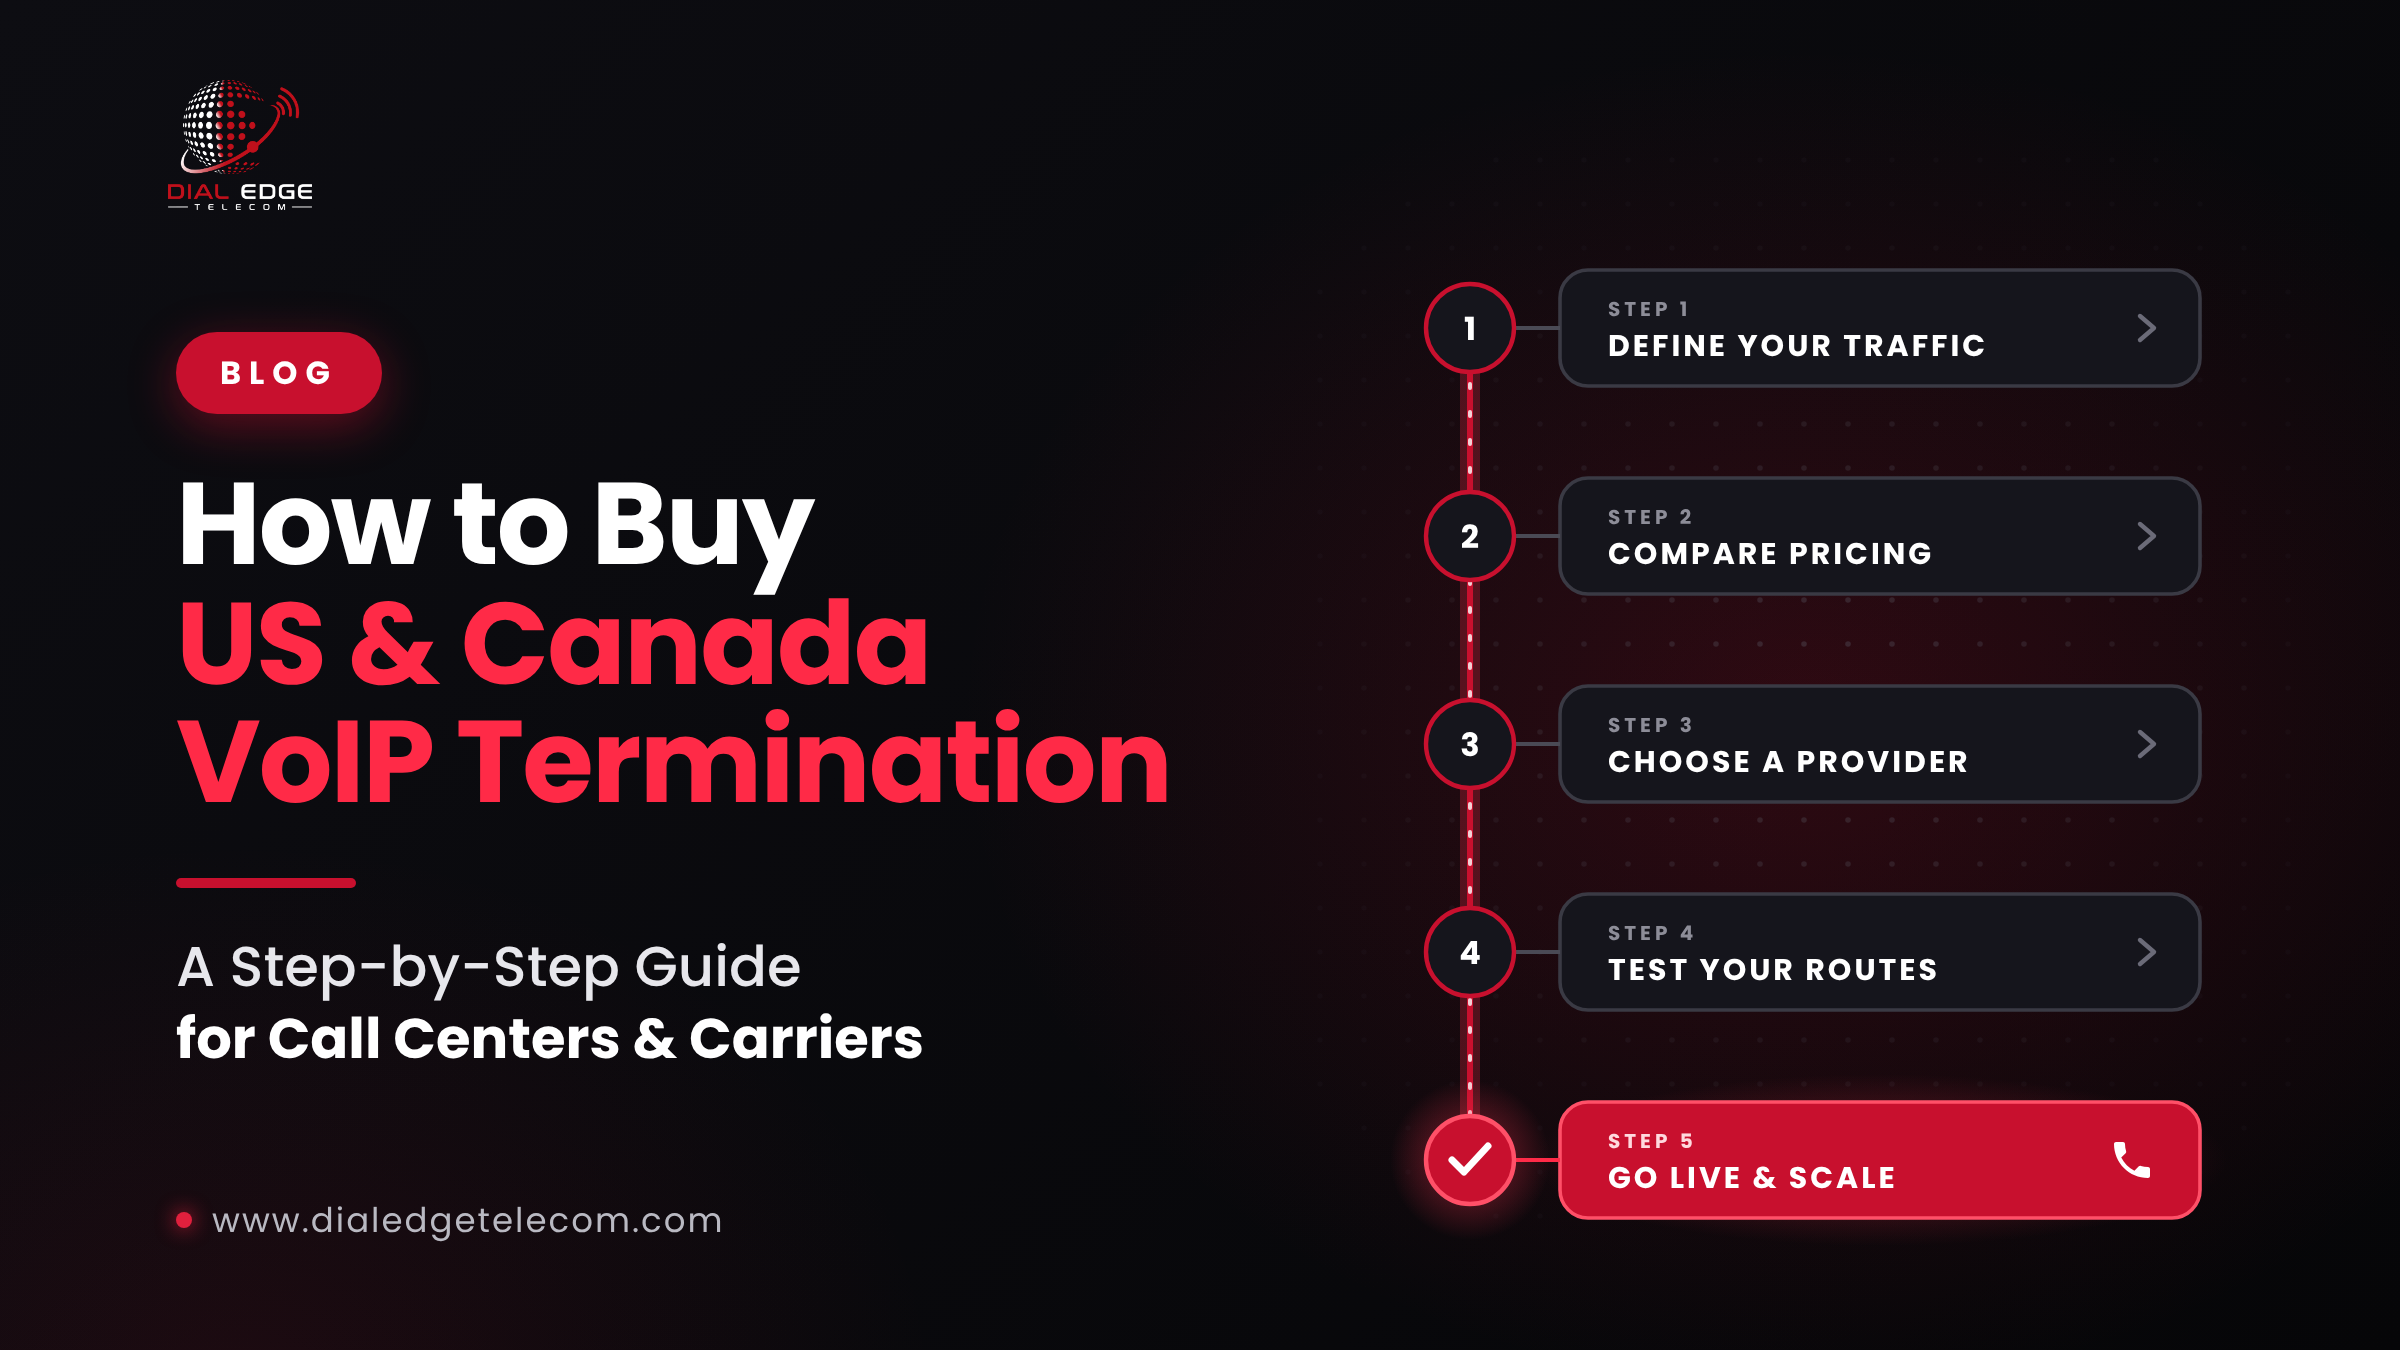
How to Buy US & Canada VoIP Termination: A Step-by-Step Guide
Buying VoIP termination isn't like buying a phone plan. Rates, routes, capacity, and compliance all affect how your calls perform and what you really pay. Get it right, and your agents stay on the phone with clear calls and strong answer rates. Get it wrong, and you'll face dropped calls, spam labels, and surprise costs.
Whether you run a call center, resell voice services, or manage traffic for a carrier, this guide walks you through buying US and Canada VoIP termination step by step.
(New to the topic? Start with: What Is VoIP Termination and How Does It Work?)
Step 1: Define your traffic
Before you contact any provider, get clear on what you'll be sending. This is the single most important step, because it decides the routes, capacity, and pricing you need.
Write down:
Type of traffic: conversational (support, account management) or dialer (high-volume outbound)?
Monthly volume: roughly how many minutes per month?
Destinations: mostly US, mostly Canada, or a mix? Any specific states or area codes?
Average call length: short dialer calls or longer conversations?
Concurrent calls: the most calls you'll have running at the same time.
CPS (calls per second): how many new calls your dialer starts each second at peak.
Peak hours: when your traffic is heaviest.
Providers price and route dialer traffic differently from conversational traffic, so be honest. Sending dialer traffic over routes meant for conversations can get calls blocked.
Step 2: Check your technical readiness
To connect to a termination provider, you'll typically need:
A SIP-capable system: a softswitch, IP-PBX, dialer or contact center platform
A static public IP address, so the provider can recognize and authorize your traffic
Supported codecs, most commonly G.711 (best quality) and sometimes G.729 (lower bandwidth)
Enough bandwidth: around 100 kbps per concurrent call with G.711, plus headroom
Firewall settings that allow SIP signaling and voice traffic from your provider
If anything here is unfamiliar, ask your provider's technical team. A good provider will help you through it.
Step 3: Understand the pricing models
US and Canada termination is usually priced in one of two ways:
NPA-NXX (rate deck) pricing
Rates are set by the destination's area code (NPA) and exchange (NXX). Your provider sends you a rate deck, a file listing the price for each destination. In the US, rates can also differ for interstate calls (between states) and intrastate calls (within the same state).
Best for: high-volume traffic where you want the lowest possible cost per destination.
Flat-rate pricing
One fixed rate for calls across the country, no matter which area code you're calling.
Best for: businesses that want predictable, simple billing.
Other pricing details to check
Billing increments: 1/1 (per second), 6/6 or 60/60. On short dialer calls, this can change your bill significantly.
Prepaid or postpaid: new accounts often start prepaid.
Minimum commitments, setup fees and surcharges
How often rates change, and how much notice you'll get
Step 4: Shortlist and evaluate providers
Look beyond the per-minute rate. Compare providers on:
Route quality: direct, Tier-1 routes, with no grey routes
Coverage: every US and Canadian destination you need
Capacity: enough concurrent calls and CPS for your peaks, with room to grow
Traffic support: do they explicitly support your traffic type (especially dialer traffic)?
Call authentication: full STIR/SHAKEN support
Fraud protection: monitoring for spoofing, robocalls and unusual traffic
Support: 24/7 technical support from voice specialists
Reporting: access to call detail records (CDRs) and quality metrics like ASR, ACD and PDD
Step 5: Request a quote
Share the traffic profile from Step 1 with your shortlisted providers and ask for:
A quote or rate deck for your destinations
Billing increments and payment terms
Capacity they can offer (concurrent calls and CPS)
Details on routes and support
The more detail you share, the more accurate (and competitive) your quote will be.
Step 6: Complete onboarding
Reputable US and Canada providers verify who they work with, because regulations require them to help stop illegal robocalls. Expect to:
Provide business details and documents (know-your-customer checks)
Describe your use case and calling practices
Sign a service agreement
If you're a voice service provider yourself, share relevant compliance information, such as your Robocall Mitigation Database listing in the US
A provider that skips these checks entirely is a red flag. It often means poor-quality or risky traffic on its network.
Step 7: Set up your connection
Your provider will typically:
Authorize your IP addresses, so only your systems can send traffic
Share their SIP connection details (signaling IPs, ports and any required prefixes)
Confirm codecs and settings
You then configure your switch, PBX or dialer to send calls to the provider. Many providers can complete this in hours rather than days.
Step 8: Test before you commit
Never move full traffic without testing. Send a controlled amount of real traffic and check:
ASR (answer rate): are enough calls being answered?
ACD (average call duration): are calls lasting as expected?
PDD (post-dial delay): how long before the phone rings?
Audio quality: clear, with no echo, gaps or one-way audio
Caller ID: is your number displaying correctly on different mobile networks?
Spam labels: are calls showing as "Spam Likely"?
If you can, compare the results against your current provider on the same traffic.
Step 9: Go live and scale gradually
Once testing looks good, increase traffic in stages rather than all at once. This lets you confirm performance holds up at higher volumes and peak times.
Step 10: Monitor and optimize
Buying termination isn't a one-time decision. Keep an eye on:
Daily quality metrics (ASR, ACD, PDD)
CDRs and invoices, to make sure billing matches your records
Rate updates, especially on NPA-NXX decks
Number reputation and spam labels
Review performance with your provider regularly, and raise issues early.
Common mistakes to avoid
Choosing on price alone: cheap routes often mean lower answer rates and more failed calls.
Not disclosing dialer traffic: this can lead to blocked calls or suspended accounts.
Ignoring billing increments: 60/60 billing on short calls can quietly inflate costs.
Skipping testing: always test with real traffic before committing.
Overlooking compliance: STIR/SHAKEN, Do Not Call rules and caller ID accuracy all matter.
Buy US & Canada termination from Dial Edge Telecom
Dial Edge Telecom provides Tier-1 VoIP termination for the US and Canada, built for carriers, resellers, call centers and enterprises:
Voice termination for every US and Canadian destination
Conversational and premium dialer termination for your traffic type
NPA-NXX and flat-rate pricing options
Dedicated SIP trunks with custom CPS limits and API provisioning
STIR/SHAKEN support and fraud protection
24/7 NOC monitoring, plus a customer portal and real-time CDR streaming
Custom rates tailored to your volume
Ready to get started? Request your custom rate quote, email sales@dialedgetelecom.com or call +1-863-513-5237.